Spring heralds the return of outdoor cooking and grilling season and I could not be more excited. It never makes me happy to see the grill covered in snow, or for the temps to be so low that no one wants to venture outside to cook. By spring, I’m ready to get grilling again, aren’t you?
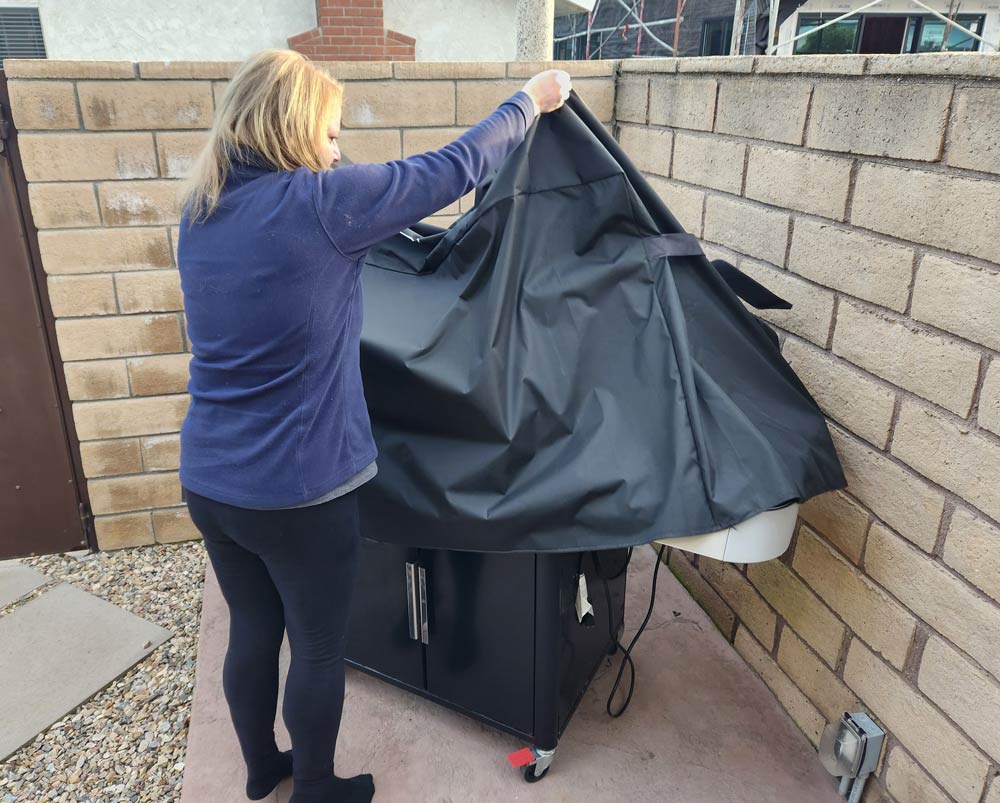
Preparing your grill for spring involves more than just removing the cover; it is a critical step to ensure safety, enhance performance, and extend the life of your barbecue. Performing a thorough spring cleaning will set you up for a successful grilling season.

Beyond cleaning and inspecting, prepping your grill also means checking fuel levels, restocking charcoal (if necessary) or inspecting hoses and connections for leaks.
This is your opportunity to inspect and troubleshoot any issues that may have arisen during the winter months. Check for any signs of wear and tear, such as rust or damage, clean the grates, etc. Let’s get to it.
Inspecting Your Grill After Winter
Before firing up your grill for the first time in the spring, a thorough inspection is vital. Checking for wear, intruders, and ensuring the gas components are secure can prevent potential hazards and maintain your grill’s performance.
Check for Rust and Wear
Inspect your grill for signs of rust or wear, particularly on the grill grates and exterior. Rust can lead to deterioration and may affect the quality of your food. If any parts are damaged, consider replacing them.
Top places to look for rust are:
- Grates
- Hood
- Underbelly
Look for Pests and Insects
During the colder months, pests and insects may have taken residence in your grill. Look for nests or spider webs, especially in hidden areas. Clear out any debris you find. I like to just come along with my trusty shop vac and give the grill a thorough vacuuming. That’ll take care of pests as well as any leftover charred bits you didn’t get when you closed down the grill in the fall.
Examine Gas Lines and Connectors

For your safety, closely examine the gas lines and connectors. I have a natural gas line to my gas grill and a electrical plug for my pellet grill. I start at the base of the lines and inspect the whole of it to ensure there are no cracks or signs of wear on the gas hose, regulator, electrical cord, or outlet.
Gas leaks can be dangerous, so this step should not be overlooked. For gas grills, apply soapy water to the connections and watch for bubbles that indicate a gas leak.
Check to make sure your fuel source is topped up. If you need to, refill your propane tank or buy more charcoal.
Assess Burners and Ignition Systems

Scrutinize the condition of the burners and ignition system. Ensure that the burners are clear of obstructions and the ignition is functioning correctly. Clear any blockages in the burner ports using a small wire or paperclip.
If you have a pellet grill, you’ll want to make sure the fire box has been vacuumed out. Any ash build up will choke out the fire. Make sure the pellet hopper is clean and clear of any debris or pests. Then you can fill it back up with pellets and make sure the auger is working properly and is feeding pellets into the fire box.
Deep Clean Grates, Interior, & Exterior

After you’ve inspected all the parts, it’s a good idea to do a deep clean, even if you already did this when you shut down the grill in the fall. The job will be much easier if you did the hard work in the fall.
Remove the grates from your grill and soak them in a bucket of hot, soapy water to loosen ash, grease, and grime. After soaking, use a grill brush or wire brush to scrub them clean. For the interior, eliminate any leftover debris and ash. Apply a mixture of baking soda and water for stubborn grime, and rinse thoroughly.


Maintaining the outside of your grill will extend its lifespan and keep it looking great. Wipe down the exterior with a grill cleaner or a warm, soapy water solution. Dry it thoroughly to prevent the buildup of moisture, which can lead to rust. For stainless steel exteriors, use a cleaner designed for that material to avoid surface damage.
Check and Calibrate the Thermometer
A reliable thermometer is critical for safe and accurate grilling. Test your grill’s thermometer by comparing its reading with a known accurate one, or consider purchasing a new, high-quality thermometer to guarantee precision cooking for those perfect grill marks.
Replace Necessary Parts
Check all parts of your grill for wear and tear. Replace any damaged components, such as grill grates, burners, or grease traps that can affect the grill’s performance or lead to grease fires. Keeping spare parts on hand can be beneficial for timely replacements.
- Common Replacements:
- Grill grates
- Burners
- Grease traps

Season the Grill for Optimal Performance
Before you start grilling, it’s wise to oil the grates after cleaning—using vegetable oil is suitable. Preheat the grill to run a burn-off cycle, eliminating remaining residue from previous cooking sessions. This process helps in maintaining a non-stick surface, letting those burgers flip easily.
Perform a Dry Run
It’s always a good idea to do a dry run start up of the grill prior to your first cook so you can be sure everything runs as expected. There have been a number of times when I found an issue right as I was about to slap on a juicy steak for dinner.

Laura is a passionate home cook and grill enthusiast who has spent years perfecting her culinary skills, with a particular focus on grilling techniques and flavor combinations. Her fascination with the grill, smoke, and the mouthwatering results they produce has led her on an exciting journey to discover the best methods for grilling delicious and unforgettable meals.